Laravel Bootstrap Auth Scaffolding with Email Confirmation
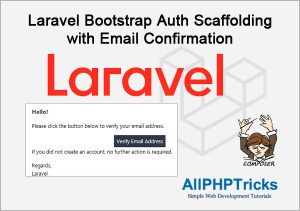
Today, in this tutorial, I will show you how to create a Laravel Bootstrap Auth Scaffolding with Email Confirmation.
Laravel UI package helps to create a bootstrap auth scaffolding in Laravel application which automatically creates a complete user registration form, email confirmation process, login form, dashboard screen, logout form and reset password form.
You can easily add email confirmation / email verification in any version of Laravel such as Laravel 8, Laravel 9, and Laravel 10 using auth scaffolding.
Previously, I have written the tutorials on Laravel 9 bootstrap auth scaffolding and how to send email in Laravel 9 using SMTP.
In this tutorial, I will use both of them as this tutorial is the combination of these tutorials, so if you do not know how to create Laravel bootstrap auth scaffolding and how to send email in Laravel then you can check out my these separate tutorials to get better understanding.
Without further delay, lets start building Laravel Boostrap Auth Scaffolding with Email Confirmation.
Steps to Create Laravel Bootstrap Auth Scaffolding with Email Confirmation
Follow the below simple steps to create Bootstrap Auth Scaffolding with Email Confirmation in Laravel 8, Laravel 9 and Laravel 10.
- Install Latest Laravel App
- Install Laravel UI Package
- Install Bootstrap Auth Scaffolding
- Install and Run NPM Packages
- Implement MustVerifyEmail Contract in User Model
- Secure Auth Routes with Verify in Web.php
- Update HomeController.php Middleware with Verified
- Configure Database and SMTP Credentials
- Migrate Tables to Database
- Run Laravel Development Server
1. Install Latest Laravel App
Open the command prompt or your terminal and go to your working directory where you want to install your latest Laravel application. I use workspace directory on my computer Desktop.
cd desktop\workspaceNow install the latest Laravel version with name LaravelAuthConfirm using the below command.
composer create-project --prefer-dist laravel/laravel LaravelAuthConfirm2. Install Laravel UI Package
In second step, before installing the Laravel UI, first change the working directory to the LaravelAuthConfirm location
cd LaravelAuthConfirmafter that install the Laravel UI package using the below command.
composer require laravel/ui3. Install Bootstrap Auth Scaffolding
In the third step, I will install the Boostrap Auth Scaffolding for creating user registration and login by running the below command.
php artisan ui bootstrap --auth4. Install and Run NPM Packages
Now as I have successfully created bootstrap auth scaffolding, so first install NPM and then Run NPM using the below commands.
npm installTo run the above npm commands, make sure that you have Node.js installed in your system.
If you do not have installed it, go to Node.js website, download and install Node.js to run npm commands.
When you run the above npm command, it will take few minutes to install node modules on your latest Laravel application.
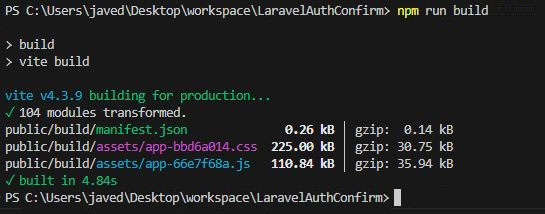
After that run the NPM RUN Build using the below command.
npm run buildSometimes, it may ask you to run again npm run build, you can run it again so that it can compile.
For MAC and Linux users, they can run both the commands together like given below.
npm install && npm run buildWhen the Laravel build is compiled then you will see the following success message on your screen.
5. Implement MustVerifyEmail Contract in User Model
Now, go to the app\Models\User.php and implement MustVerifyEmail contract in it.
Find and remove comment \\ from the below line of code to enable MustVerifyEmail contract.
// use Illuminate\Contracts\Auth\MustVerifyEmail;Then find the following line of code.
class User extends AuthenticatableAnd replace it with the following.
class User extends Authenticatable implements MustVerifyEmail6. Secure Auth Routes with Verify in Web.php
Now go to the routes/web.php file and find the below auth routes code.
Auth::routes();And replace it with the following.
Auth::routes(['verify' => true]);Readers Also Read: Laravel 10 CRUD Application Tutorial
7. Update HomeController.php Middleware with Verified
In this step, I will update home controller middleware with verified, go to app\Http\Controllers\HomeController.php and find the following line of code.
$this->middleware('auth');And replace it with the following code.
$this->middleware(['auth', 'verified']);8. Configure Database and SMTP Credentials
In this step, I will configure my database and SMTP credentials on my latest Laravel application. I will update the .env file which is available on the application root directory.
Just open the .env file and enter your database and SMTP credentials like below.
Database Credentials
DB_CONNECTION=mysql
DB_HOST=127.0.0.1
DB_PORT=3306
DB_DATABASE=your_db_name
DB_USERNAME=your_db_username
DB_PASSWORD=your_db_password
SMTP Credentials:
MAIL_MAILER=smtp
MAIL_HOST=your_website.com
MAIL_PORT=465
MAIL_USERNAME="your_email@your_website.com"
MAIL_PASSWORD="your_password"
MAIL_ENCRYPTION=tls
MAIL_FROM_ADDRESS="your_email@your_website.com"
MAIL_FROM_NAME="${APP_NAME}"
Your system must have installed MySQL or MariaDB along with minimum version of PHP 8.1.
If you do not have installed MySQL/MariaDB/PHP then you can install it via XAMPP.
Follow my step by step tutorial on how to install XAMPP on Windows 10/11.
9. Migrate Tables to Database
Now it is the time to migrate the Laravel tables into your database but before that make sure that your database is running on XAMPP.
Simply run the below command to migrate tables in DB.
php artisan migrate10. Run Laravel Development Server
Finally, you have successfully completed all the required steps to install the latest Laravel app and created Bootstrap Auth Scaffolding with email confirmation.
Now we need to start the development server of Laravel to test our application by running the below artisan command.
php artisan serveScreenshots of the Laravel Bootstrap Auth Scaffolding with Email Confirmation Application.
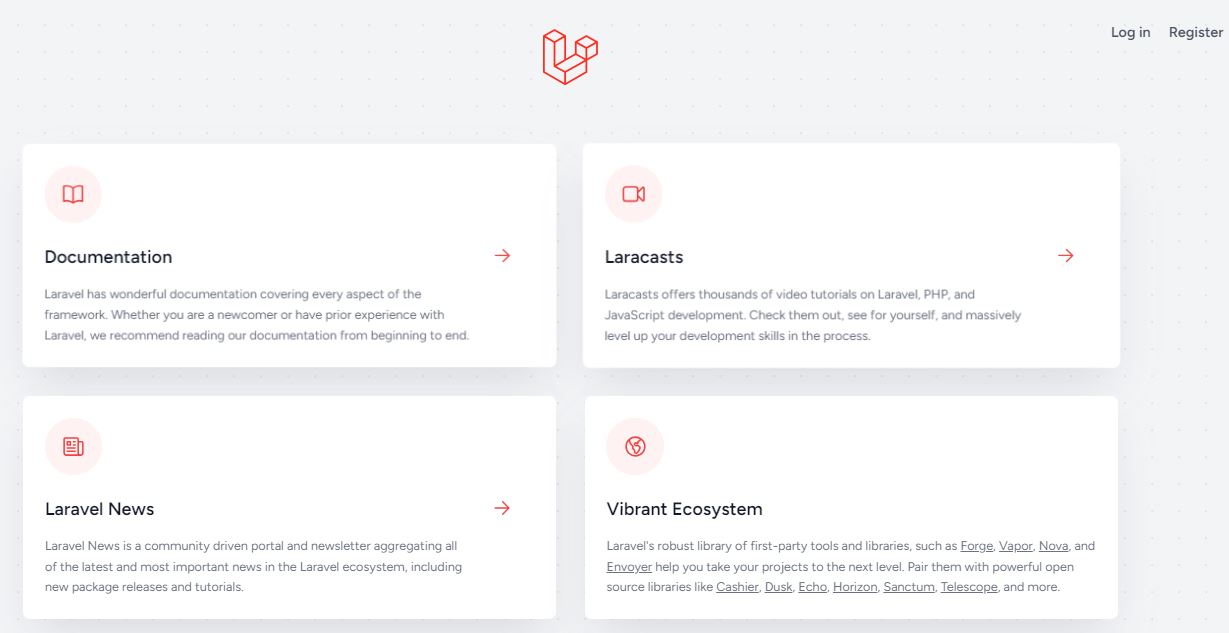
Welcome Page
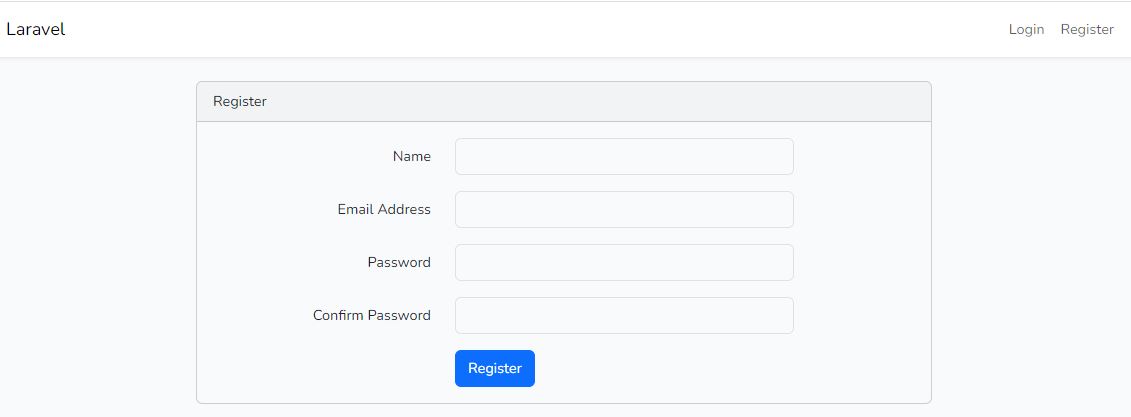
Registration Page
Email Verification Message

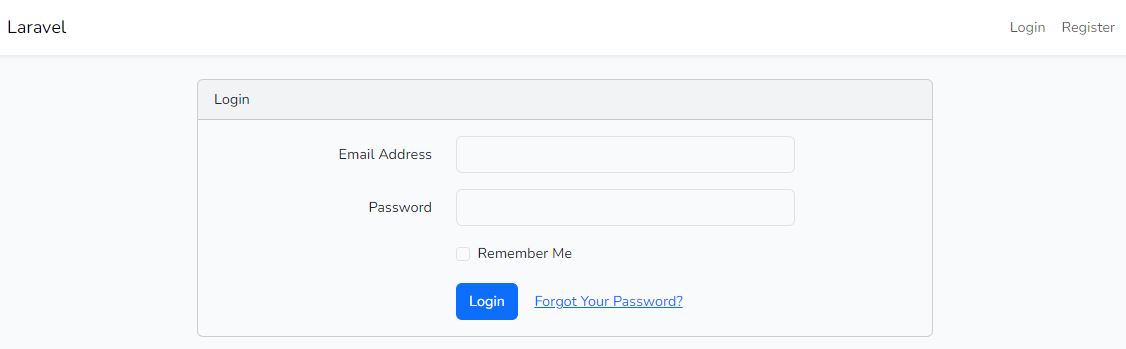
Login Page
Dashboard Page

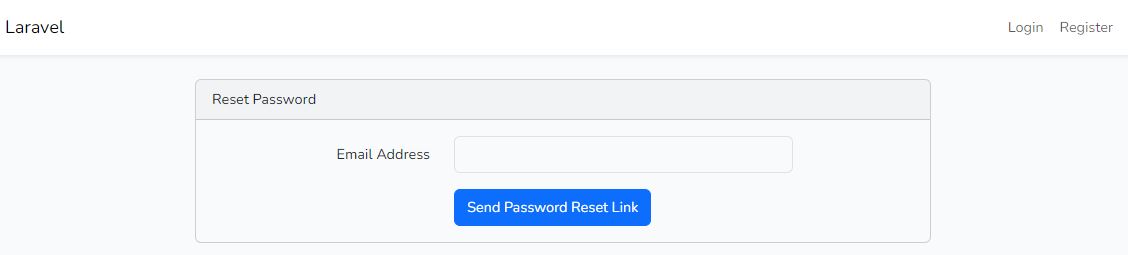
Forgot Password Page
If you are implementing a custom user registration then you will need to implement custom email verification. I have shared a tutorial about Laravel custom email verification.
Conclusion
I hope you will find this tutorial helpful for developing Laravel application for user registration and login with email verification.
If you found this tutorial helpful, share it with your friends and developers group.
I spent several hours to create this tutorial, if you want to say thanks so like my page on Facebook and share it.
Facebook Official Page: All PHP Tricks
Twitter Official Page: All PHP Tricks