How to Install XAMPP on Windows 10/11 – Easy Guide
If you are unable to install XAMPP on Windows 10/11, so this guide will help you to install XAMPP on Windows 10 /11 easily.
Before start installation XAMPP, first let me introduce XAMPP and why it is useful.
XAMPP is the most popular and recommended PHP development environment by Apache Friends. XAMPP stands for (X) cross-platform, (A) Apache, (M) MariaDB (formerly MySQL), (P) PHP and (P) Perl.
It is completely free to install and use for either personal or professional development purposes.
If you are using XAMPP then you do not need to install each component separately such as PHP, MySQL and etc. Additionally, you also do not need to remember the commands to start these components.
It is always a good practice to set up a local web server on your machine (computer) and test your web application before you publish your web application to live server.
Once you have successfully installed XAMPP on your computer then you can easily install and start development on any PHP based CMS or Frameworks. For example: WordPress, Joomla, Drupal, Laravel, CodeIgniter, Symfony, and much more.
How to Install XAMPP on Windows 10/11
So without any further delay, lets start downloading and installation of XAMPP on your Windows 10/11.
Follow the below simple steps to install XAMPP on Windows 10/11.
- Download and Install XAMPP on your Windows
- Execute the XAMPP Installer to Install XAMPP
- Select your XAMPP Preferred Language
- Open XAMPP and start Apache & MySQL
1. Download and Install XAMPP on your Windows
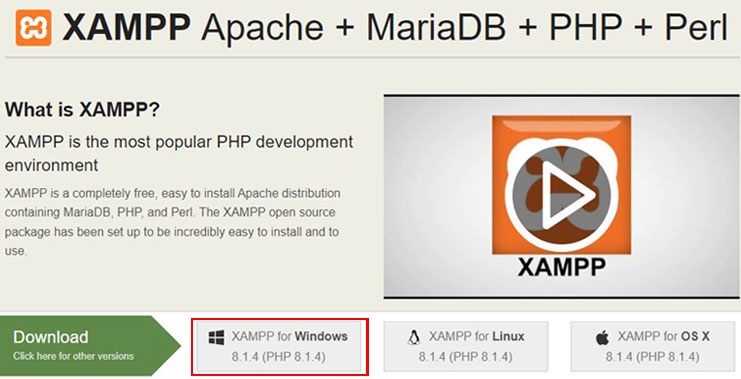
To download and install XAMPP on your Windows, go to apachefriends.org official website and click on XAMPP for Windows to download the latest version of XAMPP. In my case, the current version is 8.1.4 (PHP 8.1.4).
2. Execute the XAMPP Installer to Install XAMPP
Once the installer file is downloaded, run the installer to install XAMPP on your computer.
During the installation process it may ask you several questions but in most cases you will need to just click on Next button to complete the installation.
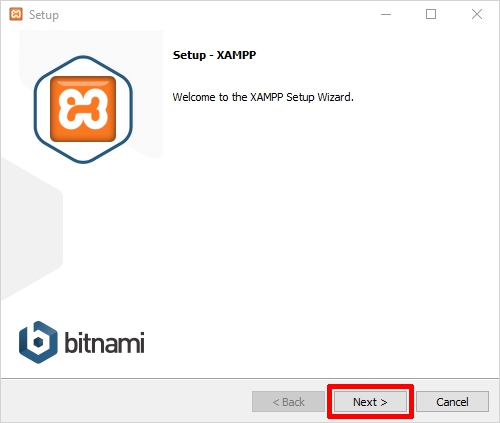
The first screen that will appear on your computer is XAMPP setup wizard. Just click on Next button.
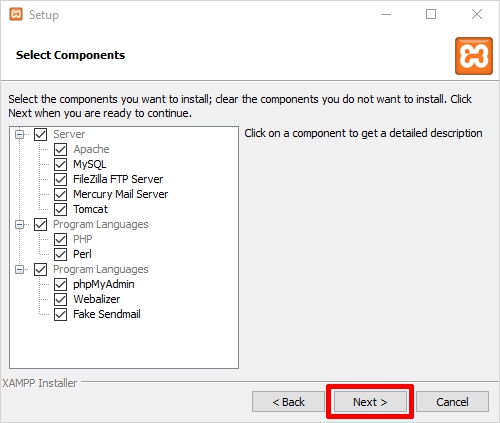
The second screen is Select Components, it will ask you to select components to install. Just click on Next button.
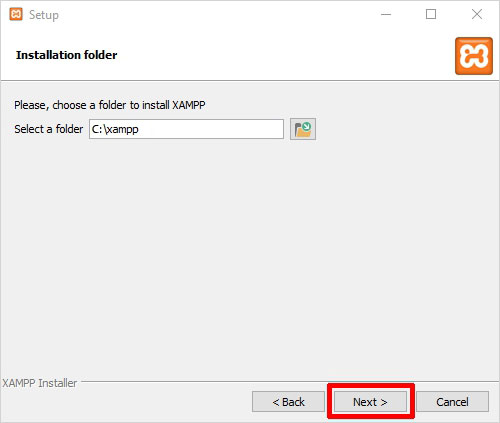
Third screen is about Selection of Installation Folder/Drive, simply select your desired location and click on Next button. By default, it will give you C:\xampp location, you can install it to the default location.
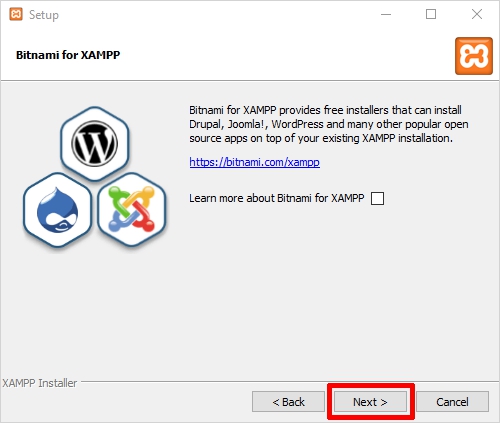
The fourth screen which you will see is Bitnami for XAMPP, simply click on Next button to continue.
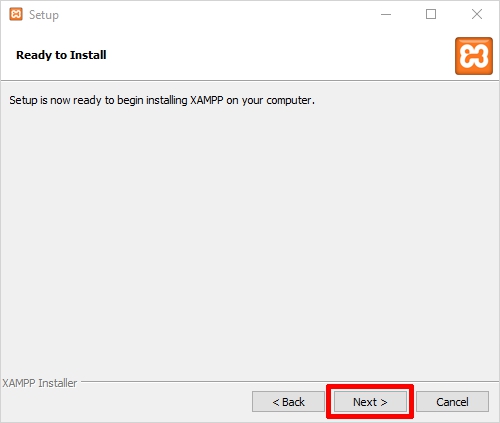
Now you will see the Ready to Install XAMPP screen, installation is now ready to get started, just hit the Next button to start the installation on XAMPP on your Windows.
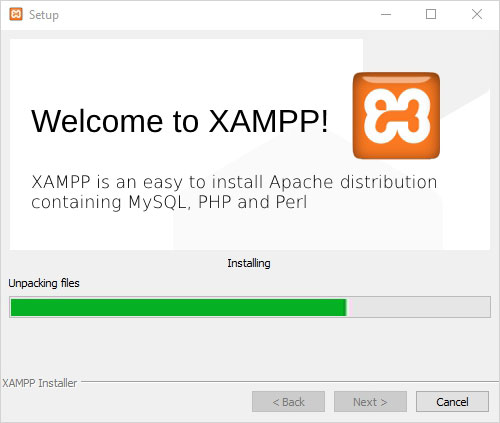
Finally, your installation has been started and you will see the Welcome to XAMPP Wizard screen like below. Be patient and wait for the installation to complete.
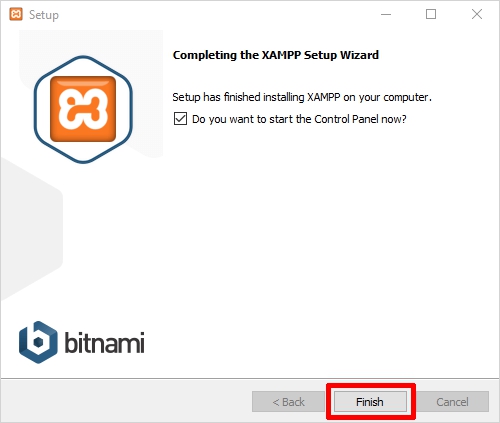
Once the installation is completed, it will ask you to start the control panel now, check on the message “Do you want to start the control panel now?” and click on Finish button.
3. Select your XAMPP Preferred Language
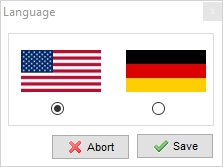
Once you clicked on the Finish button, it will ask you to select your XAMPP preferred language. Choose your desired language and click on Save button.
4. Open XAMPP and start Apache & MySQL
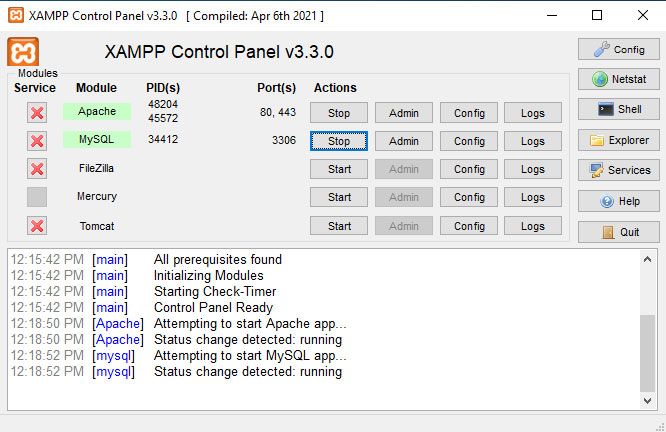
Now XAMPP has been installed successfully on your computer. You can now start Apache and MySQL to start development. Click on Start button of Apache and MySQL on your XAMPP control panel.

Once you click on Start button of both Apache and MySQL services, their both status will turn to green. That’s it, you have finally successfully installed and started XAMPP on your Windows 10 / 11.
Now you can start development and install your desired CMS like WordPress, Joomla or any PHP framework like Laravel to start working on it.
Once the Apache and MySQL services are started, you can hit this URL http://localhost/dashboard/ to see your XAMPP default welcome screen.
You can also access to your MariaDB Database phpMyAdmin through this URL http://localhost/phpmyadmin/ and start creating your new databases to work with.
Conclusion
In this tutorial, you have learnt how to install XAMPP on Windows 10 / 11 with easy and step by step guide. XAMPP is very useful package to kick start web development on your local web server and test your application before go live.
Facebook Official Page: All PHP Tricks
Twitter Official Page: All PHP Tricks