
Laravel 9 Bootstrap 5 Auth Scaffolding – User Registration & Login
In this tutorial, I will show you how to create a Bootstrap 5 Auth Scaffolding in Laravel 9. Auth Scaffolding automatically creates a user registration, login, dashboard, logout, reset password and email verification with the help of Laravel UI package.
If you want to create Laravel custom user registration and login then check out my tutorial.
If you want to create user registration with email confirmation then check out my tutorial on Laravel Bootstrap Auth Scaffolding with email confirmation
Without further delay, lets start building Laravel 9 Boostrap 5 Auth Scaffolding.
Steps to Create Laravel 9 Bootstrap 5 Auth Scaffolding
Follow the below simple steps to create Bootstrap Auth Scaffolding in Laravel 9.
- Install Laravel 9 App
- Install Laravel UI Package
- Install Bootstrap 5 Auth Scaffolding
- Install and Run NPM Packages
- Configuration Database Credentials
- Migrate Tables to Database
- Run Laravel Development Server
1. Install Laravel 9 App
Open the terminal or command prompt and navigate to your desired directory where you want to install Laravel 9 application. I preferred workspace directory on my Desktop.
cd desktop\workspaceNow install the latest Laravel 9 version with name Laravel9Auth using the below command.
composer create-project --prefer-dist laravel/laravel:^9.0 Laravel9Auth2. Install Laravel UI Package
In second step, first I will change the directory to the Laravel9Auth location
cd Laravel9Authand then install Laravel UI package before creating Auth Scaffolding using the below command.
composer require laravel/ui3. Install Bootstrap 5 Auth Scaffolding
Now in this step, I will install Boostrap 5 Auth Scaffolding by running the below command.
php artisan ui bootstrap --auth4. Install and Run NPM Packages
I have successfully created auth scaffolding, so lets install NPM and Run NPM, run the below commands.
npm install --save-dev vite laravel-vite-pluginMake sure that you have installed Node.js in your machine otherwise you will not be able to run npm commands. If you do not have it, visit Node.js official website, download and install it.
It will take some time to install node modules completely on your Laravel 9 application, once node modules are installed, then first make changes in your package.json file and then run the NPM Build using the below command.
"scripts": {
        "dev": "vite",
        "build": "vite build"
    }
npm run buildIf it ask you to run twice the npm run build, then follow the instruction and run again npm run build
And if you are using MAC or Linux, you can run both together like below.
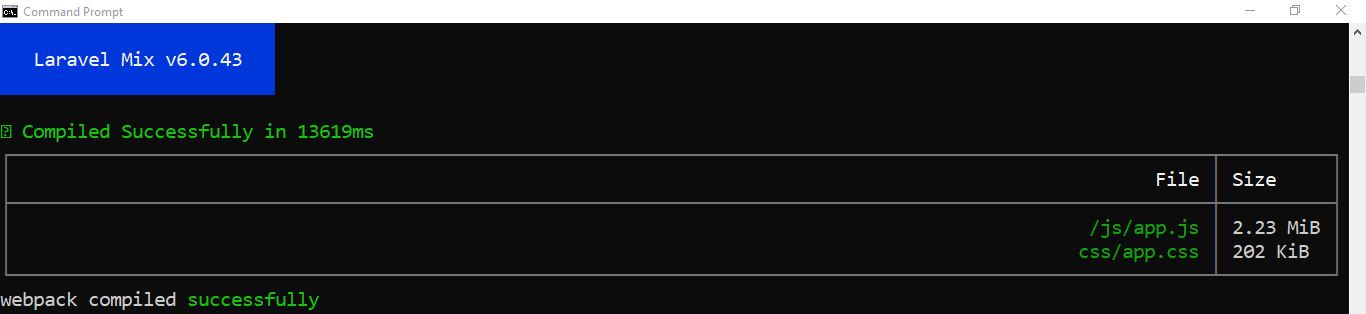
npm install && npm run buildOnce the Laravel mix is compiled successfully, you will get the following message on your terminal or command prompt.
5. Configuration Database Credentials
The most important step is that configure your database credentials on your Laravel 9 app. Go to your application root directory, find .env file and enter your database credentials like below.
DB_CONNECTION=mysql
DB_HOST=127.0.0.1
DB_PORT=3306
DB_DATABASE=your_db_name
DB_USERNAME=your_db_username
DB_PASSWORD=your_db_password
Make sure that your machine already have MySQL or MariaDB installed along with PHP. If you do not have MySQL/MariaDB then you can install it through XAMPP.
I have created a separate tutorial to install XAMPP which comes with PHP, MariaDB and Apache, follow the steps to install XAMPP on Windows 10/11.
Now we have MariaDB installed, make sure your database is running before you execute database migration command.
Readers Also Read: Laravel CRUD Application
6. Migrate Tables to Database
Now, it is the time to migrate Laravel 9 all default tables into your database by running the below command.
php artisan migrate7. Run Laravel Development Server
Now you have successfully completed all the required steps to create Laravel 9 Bootstrap 5 Auth Scaffolding. It is time to start the development server to test the application by using the below command.
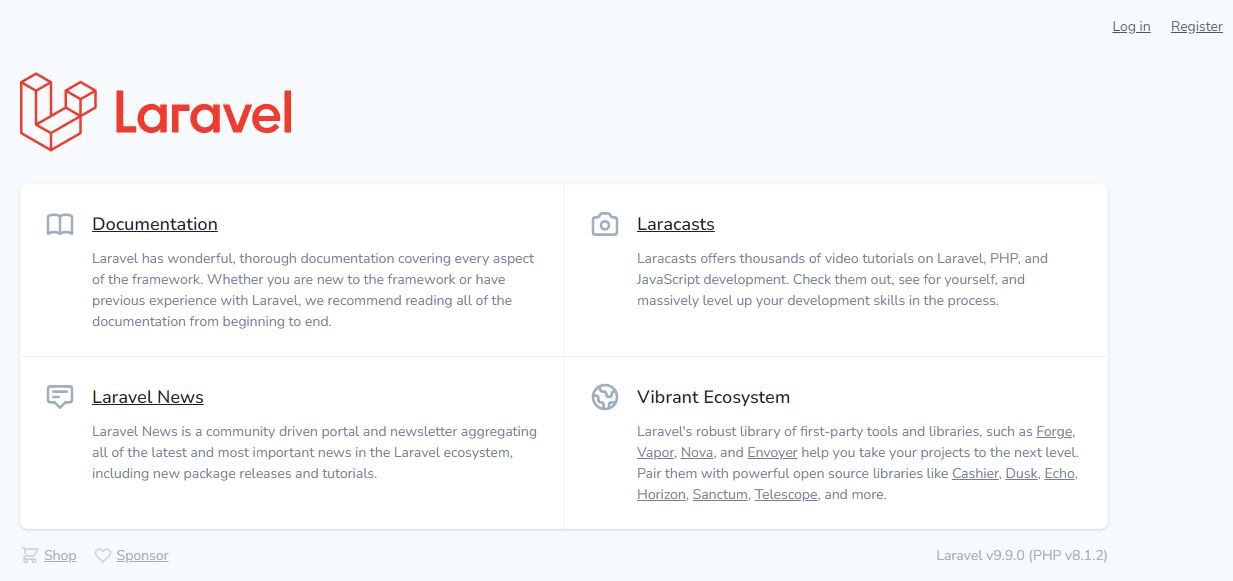
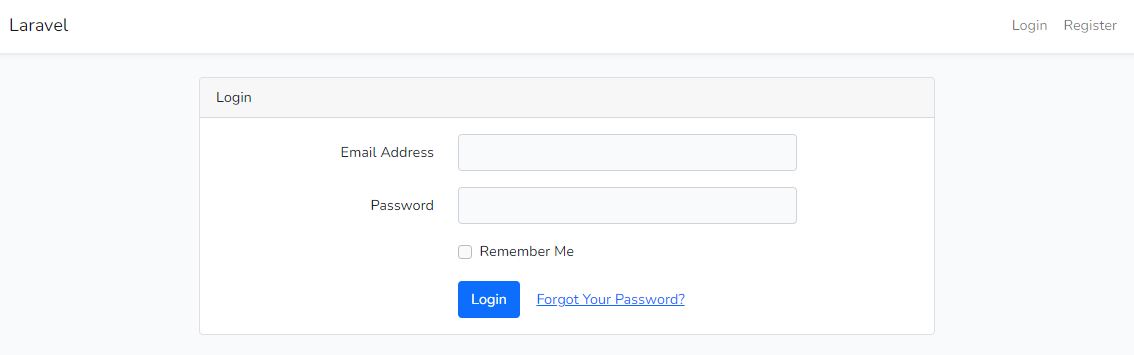
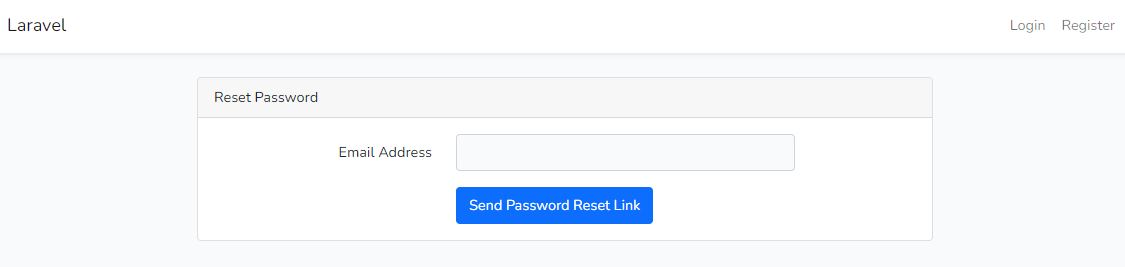
php artisan serveScreenshots of the Laravel 9 Application.
Welcome Page
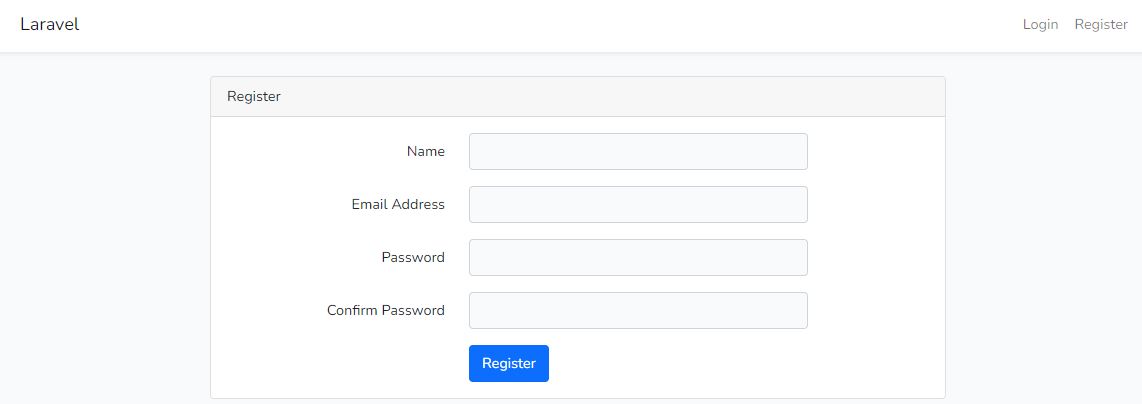
Registration Page
Login Page
Dashboard Page

Forgot Password Page
Readers Also Read: Laravel 10 Database Seeder
Facebook Official Page: All PHP Tricks
Twitter Official Page: All PHP Tricks

Please update the content
Dear Yash, Code has been updated.
Hi,
I have followed your tutorials, I am facing problm after NPM Run dev, you have told Laravel Mix compile.
But default laravel now use VITE Mix.
So that css and js is not applying properly.
How to solve this issue ? and Change tutorial based on that.
Thanks
Dear Thananjeyan,
There could be several reasons of the issue that you are facing, but mostly this issue is related to the user system setting.
Mix and Vite both are asset bundlers. And if you are fail to run it so it may be because of your user permission.
So first make sure that you are the administrator of your system, if you are not the administrator then it is better to develop you entire project on your user’s directory or Desktop, as you will have full rights over there to execute and compile the Mix or Vite.
Hope this will solve your issue.
Thank you so much for your wonderful tutorials.
Is it better to use Laravel environment “for php coding” or to use normal “code editor along side xamp. Please advise me on this. Thank you
You can use any code editor which is convenient to you. Although, I recommend VS Code for Laravel.
Laravel 9 required PHP8.x, which none of the linux systems seem to come pre-installed with, so there is a LOT needed before step #1, just in doing that. I spent almost 4 hours pounding my way through it all.
Here is a (probably incomplete) list of the things I had to install before step #1 completed:
php8.0
phpunit ^9
php-dom
php8.0-xml
php8.0-mbstring
php8.0-curl
node.js
Also, just FYI, there is a PRIVATE github repo that step #1 requires:
– Syncing sebastian/comparator (4.0.6) into cache
Cloning failed using an ssh key for authentication, enter your GitHub credentials to access private repos
When working with _public_ GitHub repositories only, head to https://github.com/ to retrieve a token.
This token will have read-only permission for public information only.
When you need to access _private_ GitHub repositories as well, go to https://github.com/
I’m not going to detail everything — I’m still trying to get to where step #1 completes. The point I’m trying to make is that step #1 is nowhere near the first step, and that you should really say about upgrading to PHP8, even if it is just a pointer to an article that details what is needed.
Hi David, thanks for your input but unfortunately, this tutorial does not focus on how to install Laravel, it is about how to create scaffolding in Laravel. If you want to know how to install Laravel on Windows, Linux or Mac then follow my this tutorial.
https://www.allphptricks.com/how-to-install-laravel-9-on-windows-10-11/
Although it is about on how to install Laravel on Windows, but the procedure is same for all OS. Hope this helps you.