How to Install Composer on Windows 10 / 11 – Easy Guide

If you want to know how to install Composer on Windows 10 / 11, then you have come to the right place.
In this tutorial, I will show you how to install composer on Windows in a real quick and also explain that what is a composer and the benefits of using composer.
What is Composer?
A composer is a PHP dependency manager, it is a tool that is very useful to manage your application dependencies.
It helps to Install and update required libraries of your application. It is very useful and effective tool of PHP development.
Packagist is the main Composer repository, where you can find expressive collection of PHP libraries that are available through Composer.
Requirements to Install Composer
Composer is a PHP dependency manager therefore it is required that you must have already installed PHP on your Windows before installing of Composer.
There are various ways to install PHP on your windows, you can either directly download PHP from the internet or you can install XAMPP on your Windows, I have shared a separate tutorial on how to install XAMPP on Windows 10/11.
XAMPP is a complete package which comes with Apache, MariaDB, PHP and Perl. It is very useful tool for PHP development.
Steps to Install Composer on Windows
Follow the below step by step guide to install Composer on Windows 10 / 11.
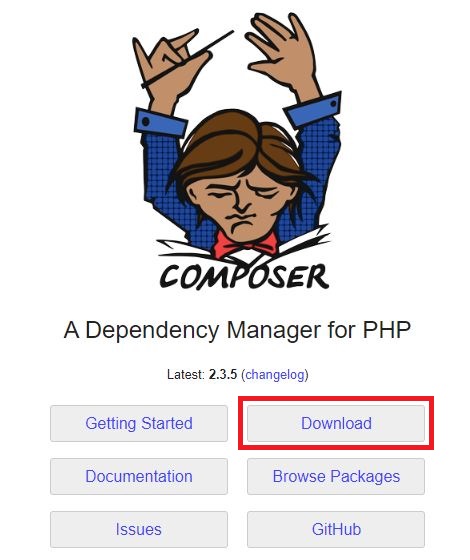
Step 1: Go to the Composer official website and click on Download button.
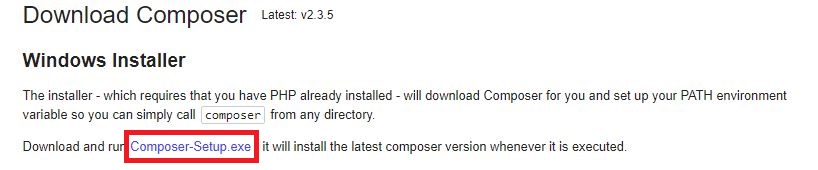
Step 2: Click on Composer-Setup.exe to download composer set up file.
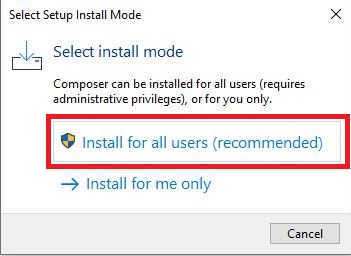
Step 3: Double click to execute composer set up file and click on install for all users option.
Step 4: Additionally, popup may come up on Windows, just click on Yes button to move ahead.
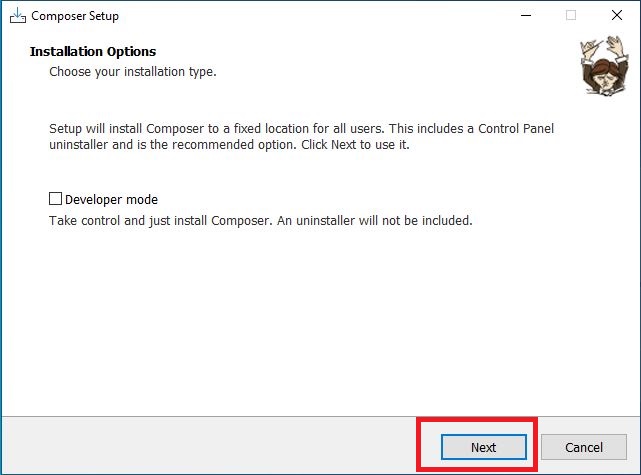
Step 5: Installation Options, do not make any changes in this step, just click on Next Button.
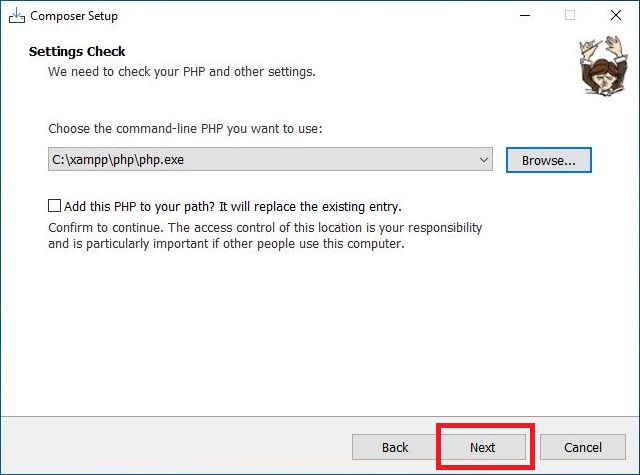
Step 6: Settings Check, It will select your PHP location be default, if it does not so select your PHP location like below.
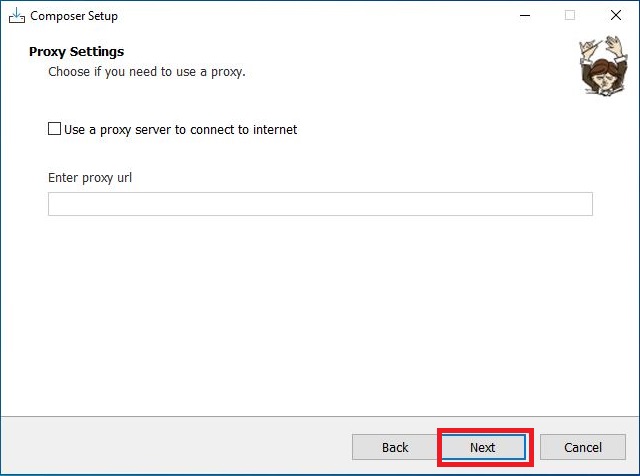
Step 7: Proxy Settings, leave the default settings and click on Next button.
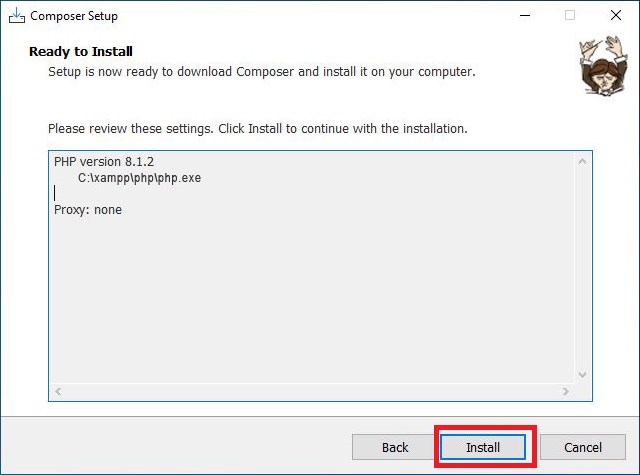
Step 8: Ready To Install, Composer is now ready to install and display the setting summary, click on Install button.
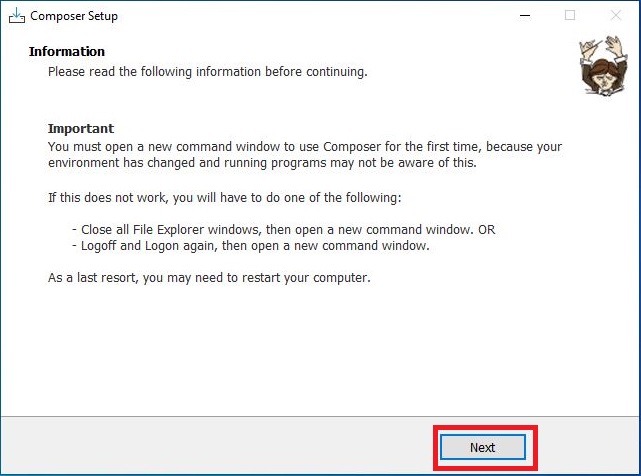
Step 9: Once the installation is completed. It will display a information page, click Next button.
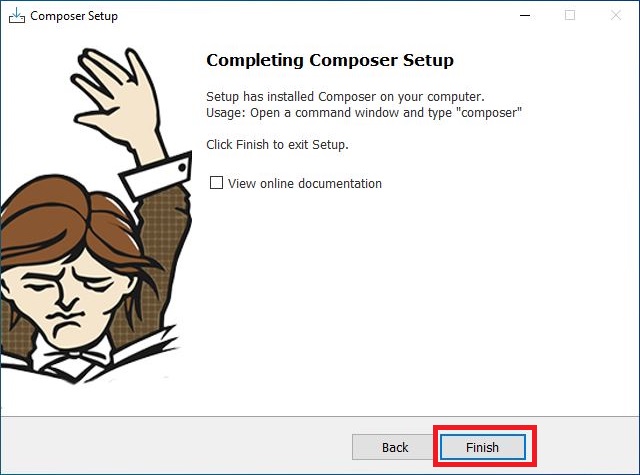
Step 10: Finally, you will see the completing Composer screen, just click on Finish button.
Now you have successfully installed composer on your Windows 10 / 11. Now we need to check if composer is installed or not.
Run the following command on Command Prompt.
composer –version
You can see the below screen of your current composer version.
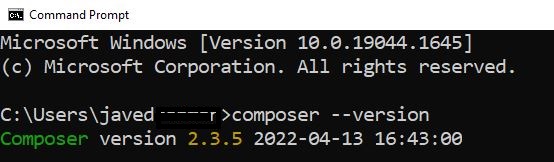
These are two dashes (–) before version in the above command.
Conclusion
So now you know that Installing a Composer is very easy and simple process, you can easily install Composer on your any Operating System like Windows, Linux, MacOS etc.
Once the composer is installed on your machine, you can start development on any PHP framework like Lavavel, Symfony and any other PHP framework.
I hope that you will find this tutorial on how to install composer on Windows 10 /11 useful.
Facebook Official Page: All PHP Tricks
Twitter Official Page: All PHP Tricks